
Introduction: Mise en Place Before You Hang the Light
Good lighting starts like a good recipe: clear prep, steady heat, clean finish. You’re choosing a pendant light supplier while your contractor asks for cut sheets and lead times. Picture the scene—a kitchen island, a lounge corner, a lobby desk—where light needs to look great and perform on cue. In our project logs, more than a third of callbacks tie to glare, color drift, or driver noise. That’s not about taste; it’s about control: CRI for color, lumen output for brightness, and dimming protocols like 0–10V or DALI for mood. If the power converters and constant-current drivers aren’t right, the dish falls flat (even before plating).
So, how do you “taste-test” light before it’s hung? You measure, you mock up, and you compare. You check thermal management, diffuser quality, and cable hardware, not just the glossy image. You think like a chef—mise en place first—because a clean setup beats last-minute fixes. And yes, the right spec beats the wrong style every time. Let’s slice into the real problems, then compare what actually works—step by step.
Under the Hood: Acrylic Pendants and the Pain Points You Don’t See
Where do acrylic pendants fall short?
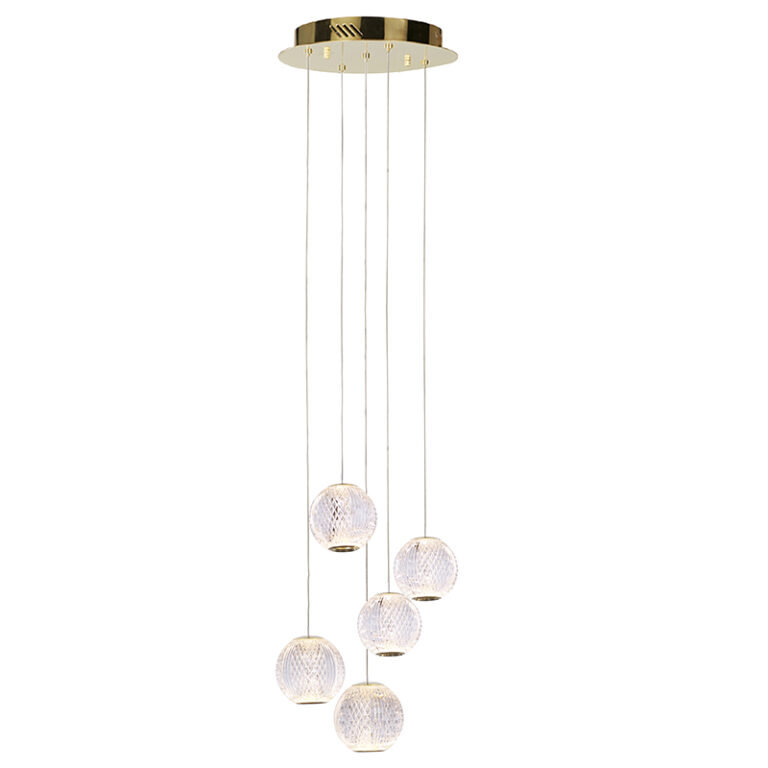
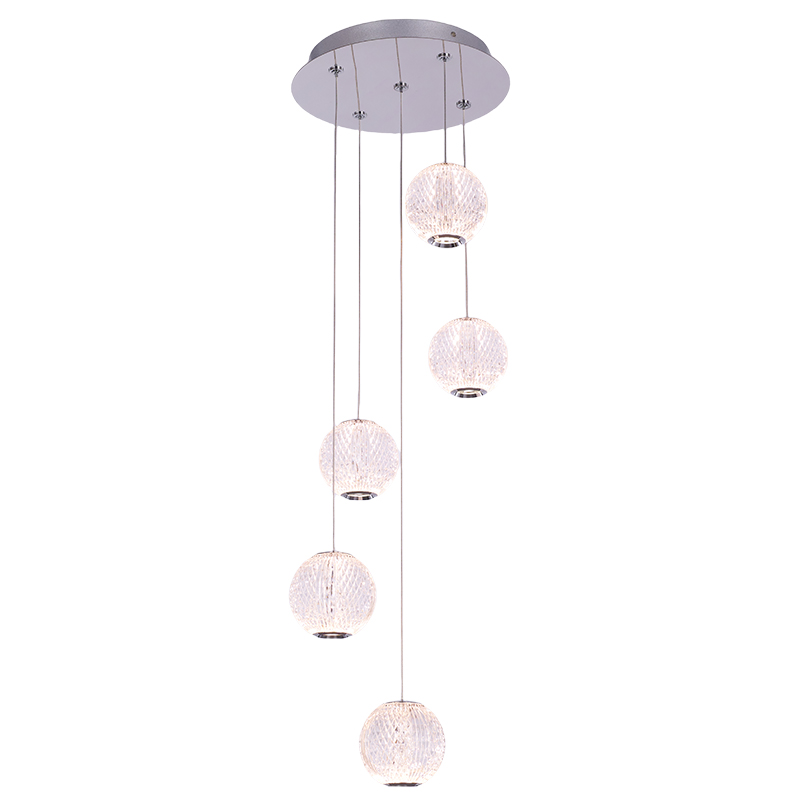
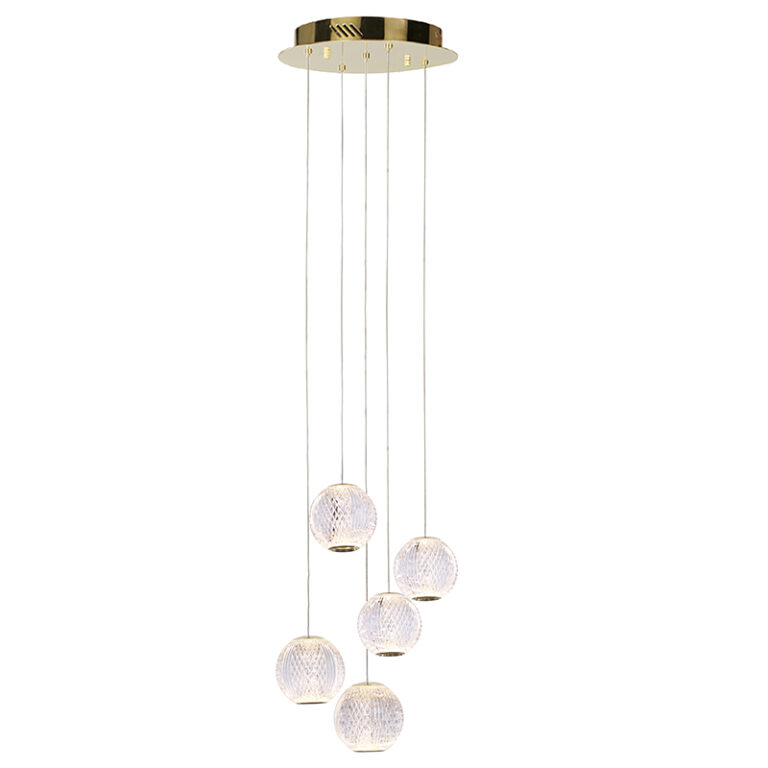
Let’s talk about acrylic pendant lights, because they’re the crowd favorite—and for good reasons: light weight, clean diffusion, and friendly price. Yet the classic approach can mask real issues. Many shades use PMMA or PC that yellows under heat. Poor diffusion optics create hot spots. A budget constant-current driver may use high-ripple PWM, so you get flicker on camera, and headaches off camera. CRI can slip under mixed phosphors, while color consistency (SDCM) wanders fixture to fixture. Add weak thermal paths and you cook LEDs in the canopy—shortening life, raising lumen drop, and pushing UGR up when you least want glare. Small detail, big cost on site—funny how that works, right?
Hidden user pains stack up fast. Fingerprints and micro-scratches on glossy acrylic, cable kinks that refuse to straighten, and canopies without room for wiring make install slow. Dimmer mismatch? It’s common with 0–10V runs that sag over distance. Rooms end up uneven, so the “same” pendant looks different across zones. Look, it’s simpler than you think: stable driver ICs, proper diffusion (microprism or opal), and real heat sinking fix most of it. The test is daily life. Can you wipe it clean without swirl marks? Does dim-to-warm feel smooth from 100% to 1% without color jump? Will the mounting hardware hold true after a few seasonal cycles? If any answer is “maybe,” that’s your red flag.
Comparative Insight: New Principles That Cure Old Headaches
What’s Next
Now, let’s go forward with principles that are winning on site. Edge-lit optics move the LED array to a ring, feed light through a guide plate, and push it out via a microprism diffuser. Result: low glare, even spread, slimmer profiles. Drivers are catching up too: low-ripple outputs, NFC-programmable currents, and DALI-2 or phase dimming with verified compatibility lists. Thermal paths are no longer an afterthought. Some pendants separate the driver bay, add a discreet heat sink, and keep the LED board cool. That means stable lumen output and steadier CCT over time. For a modern pendant light for living room, this translates to soft light, quiet electronics, and consistent color week after week—go figure.
There’s also a smarter build philosophy. Serviceable driver trays. Strain-relieved suspension cables. Quick connectors that don’t crumble after the second visit. On the spec sheet, look for CRI 90+, SDCM ≤3 for color match, PF ≥0.9 to play nice with panels, and surge protection at 2 kV or better. If a brand talks about TM-21 projections and shows LM-80 data for the LED package, that’s a sign they respect longevity, not just launch day gloss. And when controls matter, check native support for 0–10V, DALI-2, or even BLE Mesh; mismatched dimming is the silent spoiler in open-plan spaces.
Here’s the short list to choose well (and cook without surprises): 1) Optical metrics: aim for low glare, even diffusion, and CRI 90+ with stable CCT; 2) Electrical stability: low flicker, verified dimmer tables, and a constant-current driver with low ripple; 3) Build and service: robust mounting, real thermal management, and parts you can swap without a ladder drama. Measurable, practical, kitchen-tested. If the pendant hits those marks, it’s ready for daily service—morning to midnight. For more technical cues and examples, see kinglong.