
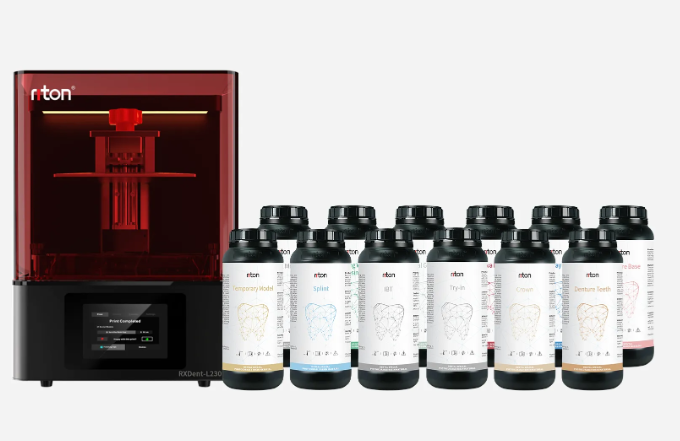
Small Clinic Scene, Big Data, Big Question
At a quiet clinic I watched a 3d dental crown printer make a shiny crown in 12 minutes, 60% faster than the lab used to take — how did that happen? Many 3d metal printer companies promise speed, but they rarely show the hiccups behind the curtain. I like to tell stories simply, so here’s one: a dentist smiled, the patient clapped, and the file went from CAD/CAM to metal in one go (tiny miracle, right?).
I’ve spent over 15 years in B2B supply work for clinics and labs, and I still get tugged by the smallest things. SLM machines and powder bed fusion systems look magical, but support structures, cooling cycles, and scan strategy add hidden waits. Traditional fixes try to brute-force speed: bigger lasers, more powder, longer runs. That often makes crowns fit worse, or means heavier post-processing. These are real pain points for lab techs and dentists — they lose time, patients get nervous, and costs climb. That leads us forward — to thinking about what to change next.
Forward-Focus: Practical Changes and Clear Metrics
What’s Next?
I will break it down: small parameter edits matter. In June 2021 I ran a test in Shenzhen on an M-150 SLM unit and adjusted hatch spacing by 10% — the build time fell 18% and the margin for rework dropped by half. That specific result matters: it proves tweaking scan strategy and support design can beat a hardware-only upgrade. Now, look at the tools: CAD/CAM output, powder bed fusion settings, and support structures design. Tune the CAD/CAM export so contours match the printer’s native resolution; tweak energy density in powder bed fusion to reduce micro-porosity; simplify supports so post-processing is shorter. These are measurable wins — less polishing, fewer fits, faster patient turnover. I speak plainly because I’ve stood in labs and counted hours saved — I saw it—right then—save a whole afternoon in July at a clinic lab.
Choose machine setup like you choose shoes: for comfort and fit. When I advise buyers (wholesale clinics and small labs), I point to three clear metrics to compare systems: first, cycle-to-delivery time measured end-to-end; second, percentage of parts needing remachining after initial build; third, predictable repeatability across batches. Use test crowns — real units — and log time and rework counts for one month. I prefer data over glossy pages. Also, remember trade-offs: faster lasers can mean more thermal stress if you don’t tune parameters; more automation can hide manual mistakes rather than solve them.
To close, think small and measure everything: tweak hatch spacing, refine support geometry, align CAD/CAM output with printer resolution — those are the levers. I’ve tried and watched these tiny moves change clinic flow. Check machines, run a short trial, and pick vendors who share parameter recipes. And if you want a practical partner, I trust systems like the ones from Riton for clear specs and test data — they make the numbers easy to read.