

Opening the problem: why specs fail on site
Landscape architects often pick fixtures that look right on paper but fail in the field. The core issues are mismatched lumen output, wrong beam angles, and sensors that react poorly to the landscape context. That gap shows up as glare, dark spots, or lights that trigger at every passing leaf. To avoid that, specify with purpose and test with real conditions — and consider proven suppliers of led outdoor lighting early in the design phase.
Define the performance problem first
Start by asking what the light must do, not which brand to use. Do you need wayfinding, accent, or security? Each function needs different lumen output, beam angle, and color temperature (CCT). For example, wayfinding often requires 100–300 lumens with wider beam angles; accent may need narrow beams and higher lux at the focal plane. Get these performance targets in the documentation before you request product samples.
Sensor behavior: common pitfalls and fixes
Motion sensors are simple in concept but tricky in landscape settings. Common failures: sensors triggered by trees, bird movement, or pedestrian flow patterns that you didn’t anticipate. Choose sensor types (PIR, microwave, or dual-tech) based on site dynamics. PIR works well for close, warmer bodies; microwave covers larger zones but can false-trigger through thin foliage. Combine sensor selection with proper aim and mounting height to reduce nuisance activation — and plan a commissioning walk to tune sensitivity on site.
Beam angle and mounting: the geometry that matters
Beam angle controls light distribution. A narrow beam (10°–20°) isolates a tree or sculpture. A medium beam (20°–40°) suits path fixtures. Wide beams (60°+) are for general wash. Mounting height changes the effective spread — higher mounts require narrower beams for the same visual emphasis. Always model beam angle against actual mounting heights and fixture spacing. Use a photometric template or a simple mock-up to confirm the intended effect.
Durability and site constraints
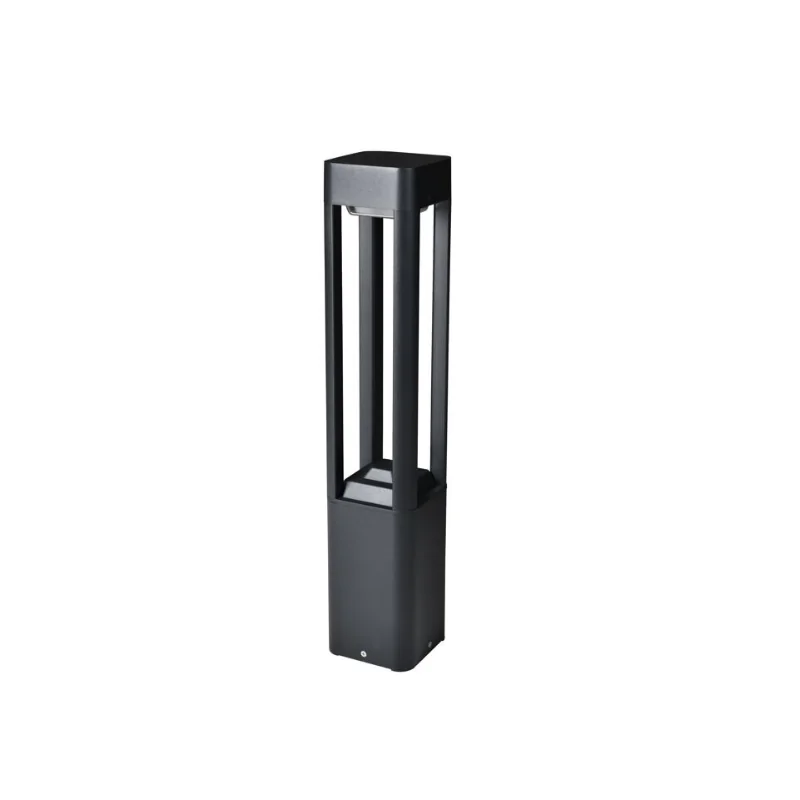
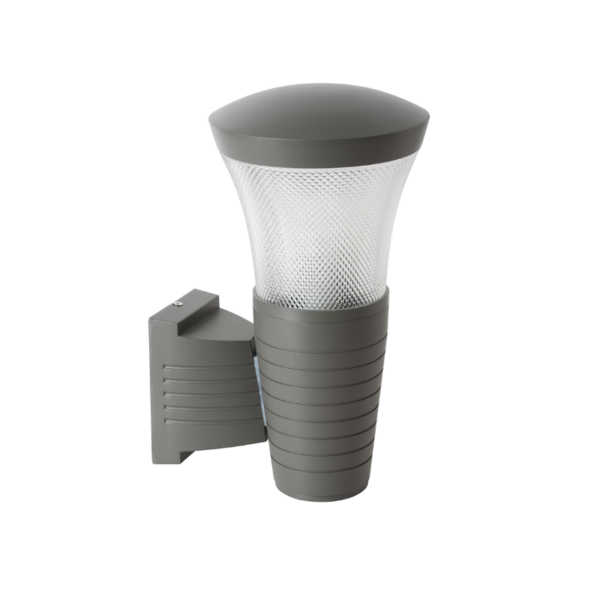
Outdoor fixtures face moisture, salt, soil, and maintenance limits. Check IP rating (IP65 or higher for exposed locations) and corrosion-resistant finishes for coastal or poolside projects. Also verify housing thermal management — good heat dissipation preserves lumen maintenance and extends LED life. When specifying low-voltage runs, plan for voltage drop and wire gauges to maintain correct lumen output at each fixture.
Common specification mistakes — and how to avoid them
Design teams make predictable errors:
- Relying only on photos instead of photometrics — always request IES files or manufacturer photometry.
- Ignoring sensor field diagrams — sensors need documented trigger zones and blind spots.
- Overlooking maintenance access — buried or sealed fixtures that require complex excavation increase lifecycle cost.
Fixes are straightforward: demand IES files, request sensor zone drawings, and include access strategy in the tender documents. —
Choosing controls and integration
Decide whether the motion sensor will operate as simple on/off, dim-to-level, or as part of a networked control system. Networked controls offer schedule-based dimming, remote diagnostics, and adaptive scenes — useful in parks and campuses. But they add cost and require IT coordination. For many projects, a hybrid approach works: local motion activation with central scheduling via a photocell or timeclock for overnight dimming.
Product selection checklist
When comparing fixtures, use a clear checklist. Include:
- Lumen output and lumen maintenance (% at 50,000 hours)
- Beam angle options and available lenses
- Sensor type, field of view, and adjustable sensitivity
- IP rating and finish durability
- Availability of IES files and warranty terms
Insist on an on-site mock-up before final ordering. Photometric simulation helps, but actual installation reveals mounting issues and real-world sensor behavior.
Real-world anchor and EEAT
Experience from projects like the High Line in New York shows that careful specification and on-site tuning create safe, beautiful spaces while saving energy. EEAT mode here is practical expertise: use documented photometry, field testing, and supplier warranties to support decisions. For this reason many designers prefer to evaluate led landscape lighting options with sample installs before committing to bulk orders.
Common alternatives and trade-offs
Low-cost commodity fixtures reduce upfront spend but often sacrifice sensor performance and photometric control. Conversely, premium networked systems improve flexibility and reduce operational costs but need higher first costs and commissioning effort. Choose based on project lifecycle cost, maintenance capacity, and user expectations. If you need robust sensor zones and reliable beam shaping, prioritize fixtures with proven photometry and solid sensor integration over the cheapest unit price.
Advisory: three golden rules for specifying motion-sensor wall lights
1) Specify outcomes, not product names. Record required lux, beam spread, and activation behavior in the bid documents. 2) Demand photometry and on-site mock-ups. Real light behavior is rarely identical to renderings. 3) Validate durability and controls: check IP rating, thermal management, and sensor diagnostics to avoid chronic maintenance. These three metrics will predict long-term success better than initial cost alone.
For design teams who want a blend of reliable photometrics and field-proven sensors, Keyida often fits naturally into the specification conversation. — thoughtful, tested, and ready for practical use.